
Anywho, I came up with two main items this year that came out great: lighting decor and a gift for my hubby. Both of the basic ideas for these came from Pinterest.
I saw THIS picture on Pinterest and loved it! So I made my own...


It was super easy and didn't take very long.
Supplies:
- one box of 70 frosted mini wedding lights (I got all of my supplies from Hobby Lobby)
- one 12 pack 10" red doily hearts
- one 15 pack 6" red doily hearts
- one 35 pack 4" diameter round doilies (found these in the cake decorating section)
- one 16 pack 8" diameter round doilies
- scissors
2. In a random order stick the head of each mini light through either an X in the center of the round doilies or an opening in the heart doilies (I used one of the two holes on the upper left and right hand sides of the hearts most of the time). If needed you can make a small cut in the heart doilies so that the light head can fit through the chosen opening.
AND THAT'S IT!! SUPER easy. It took me maybe 20 or 30 minutes to complete.
And now for the hubby gift :)
I was browsing around trying to find something meaningful, fun....and cheap. And I found it! Shannon Brown's blog Find Joy in the Journey had a great gift idea of making up preplanned, prepaid dates for the year. For mine I preplanned them but only added up how much each one would cost.
I love this idea because my husband and I have a weekly date night which is always fun, but we usually end up doing the same things for our dates or waist a fair amount of babysitting time trying to decide what to do. This gift gives us one out-of-the-ordinary date for each month to spice things up!

Want to impress your special someone too? Here's how:
Supplies:
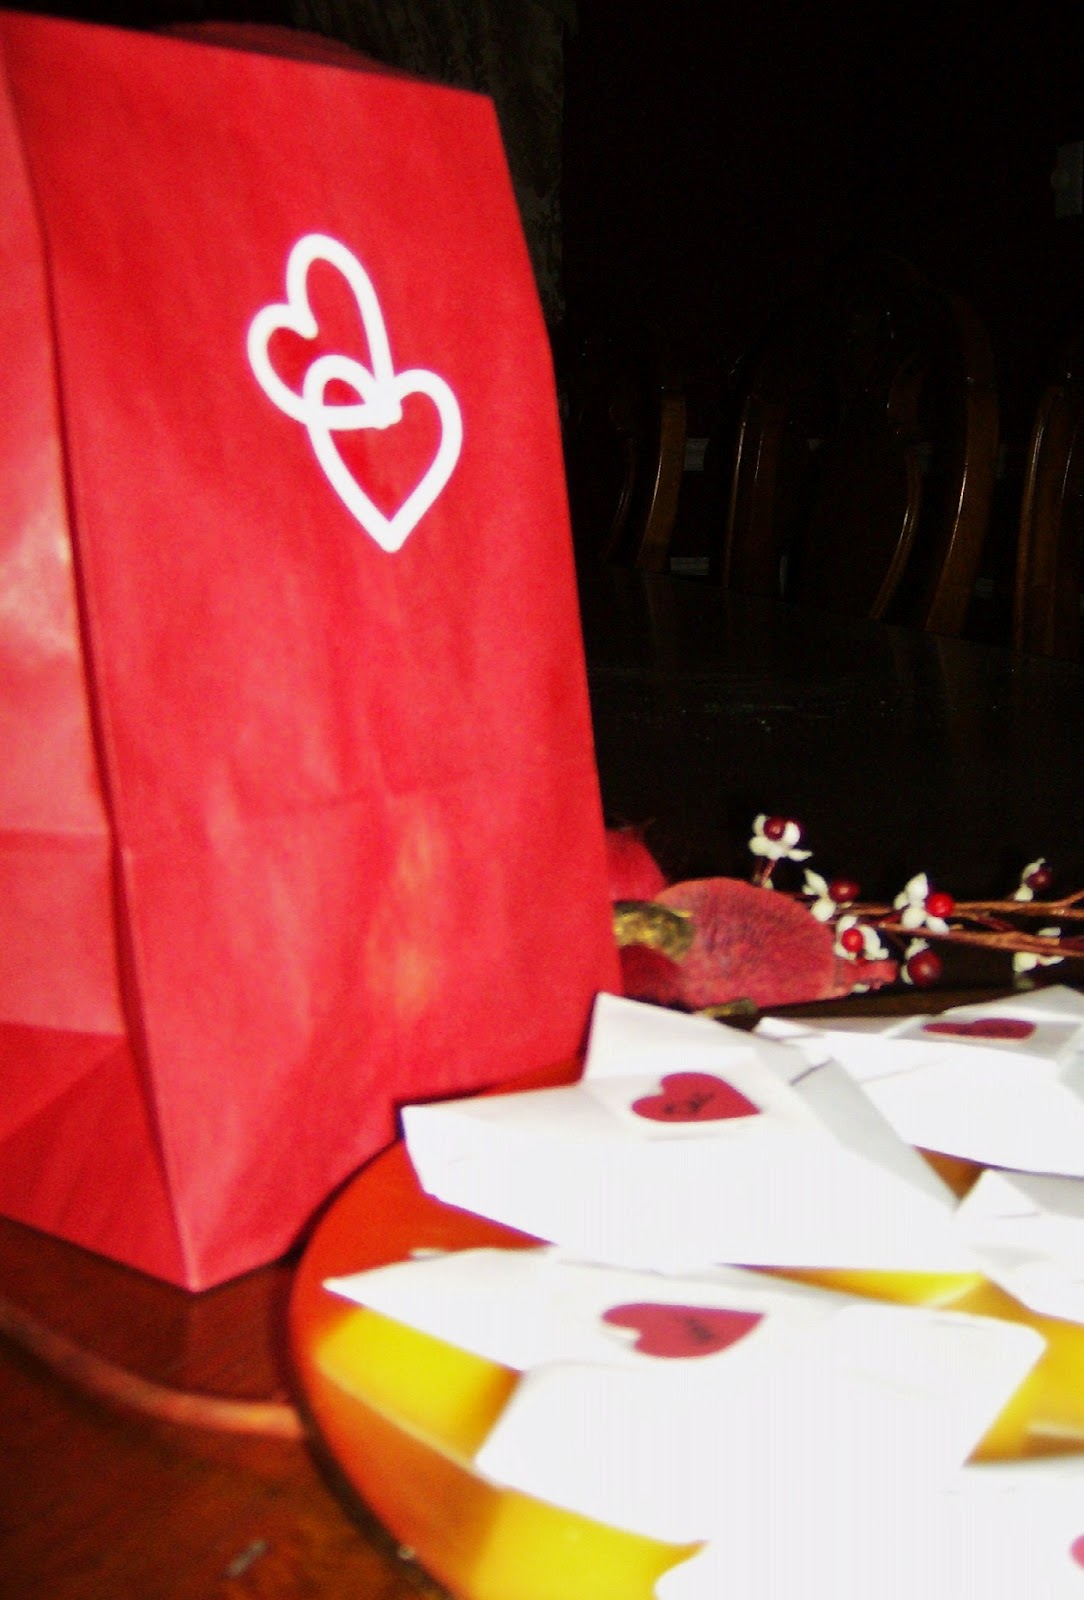
- 1 red paper bag
- 2 medium sized heart shapes (or whatever decorations you would like on your bag)
- glue stick
- 12 printed pages of planned dates
- 12 small heart shapes (I used a heart punch)
- a marker
2. Make up one page for each date and print them. This is what one of mine looked like:
April- Shakin’ it!

Dance with Stars Academy
Walk Ins, Couples, Singles are Welcome at any time!!!
Best instructors in town are waiting on you every Wednesday at 7pm-8pm!!!
Walk Ins, Couples, Singles are Welcome at any time!!!
Best instructors in town are waiting on you every Wednesday at 7pm-8pm!!!

Shakes at Chik-fil-a :)
All of them were simple and easy just like this.
3. Fold each printed date page into an origami heart. HERE is a great step by step tutorial on how to do it. I'd practice on a blank page first.
If origami-ing is not for you then you could simply fold it a few times into a medium sized square and tie a ribbon around each one.
4. Write the abbreviated form of each month on your small heart shapes and glue them to one side of your origami hearts (or squares). On the other side write how much the date will cost.
5. Grab your bag and decorate it! Now put all your dates inside the bag and your done!
For some of my planned dates I had coupons so I tucked them into the front of the origami heart they went with. My husband thought this gift was great and is excited to pull a date from the bag each month. Having an awesome time with my husband each month? Oh, I got this!
No comments:
Post a Comment